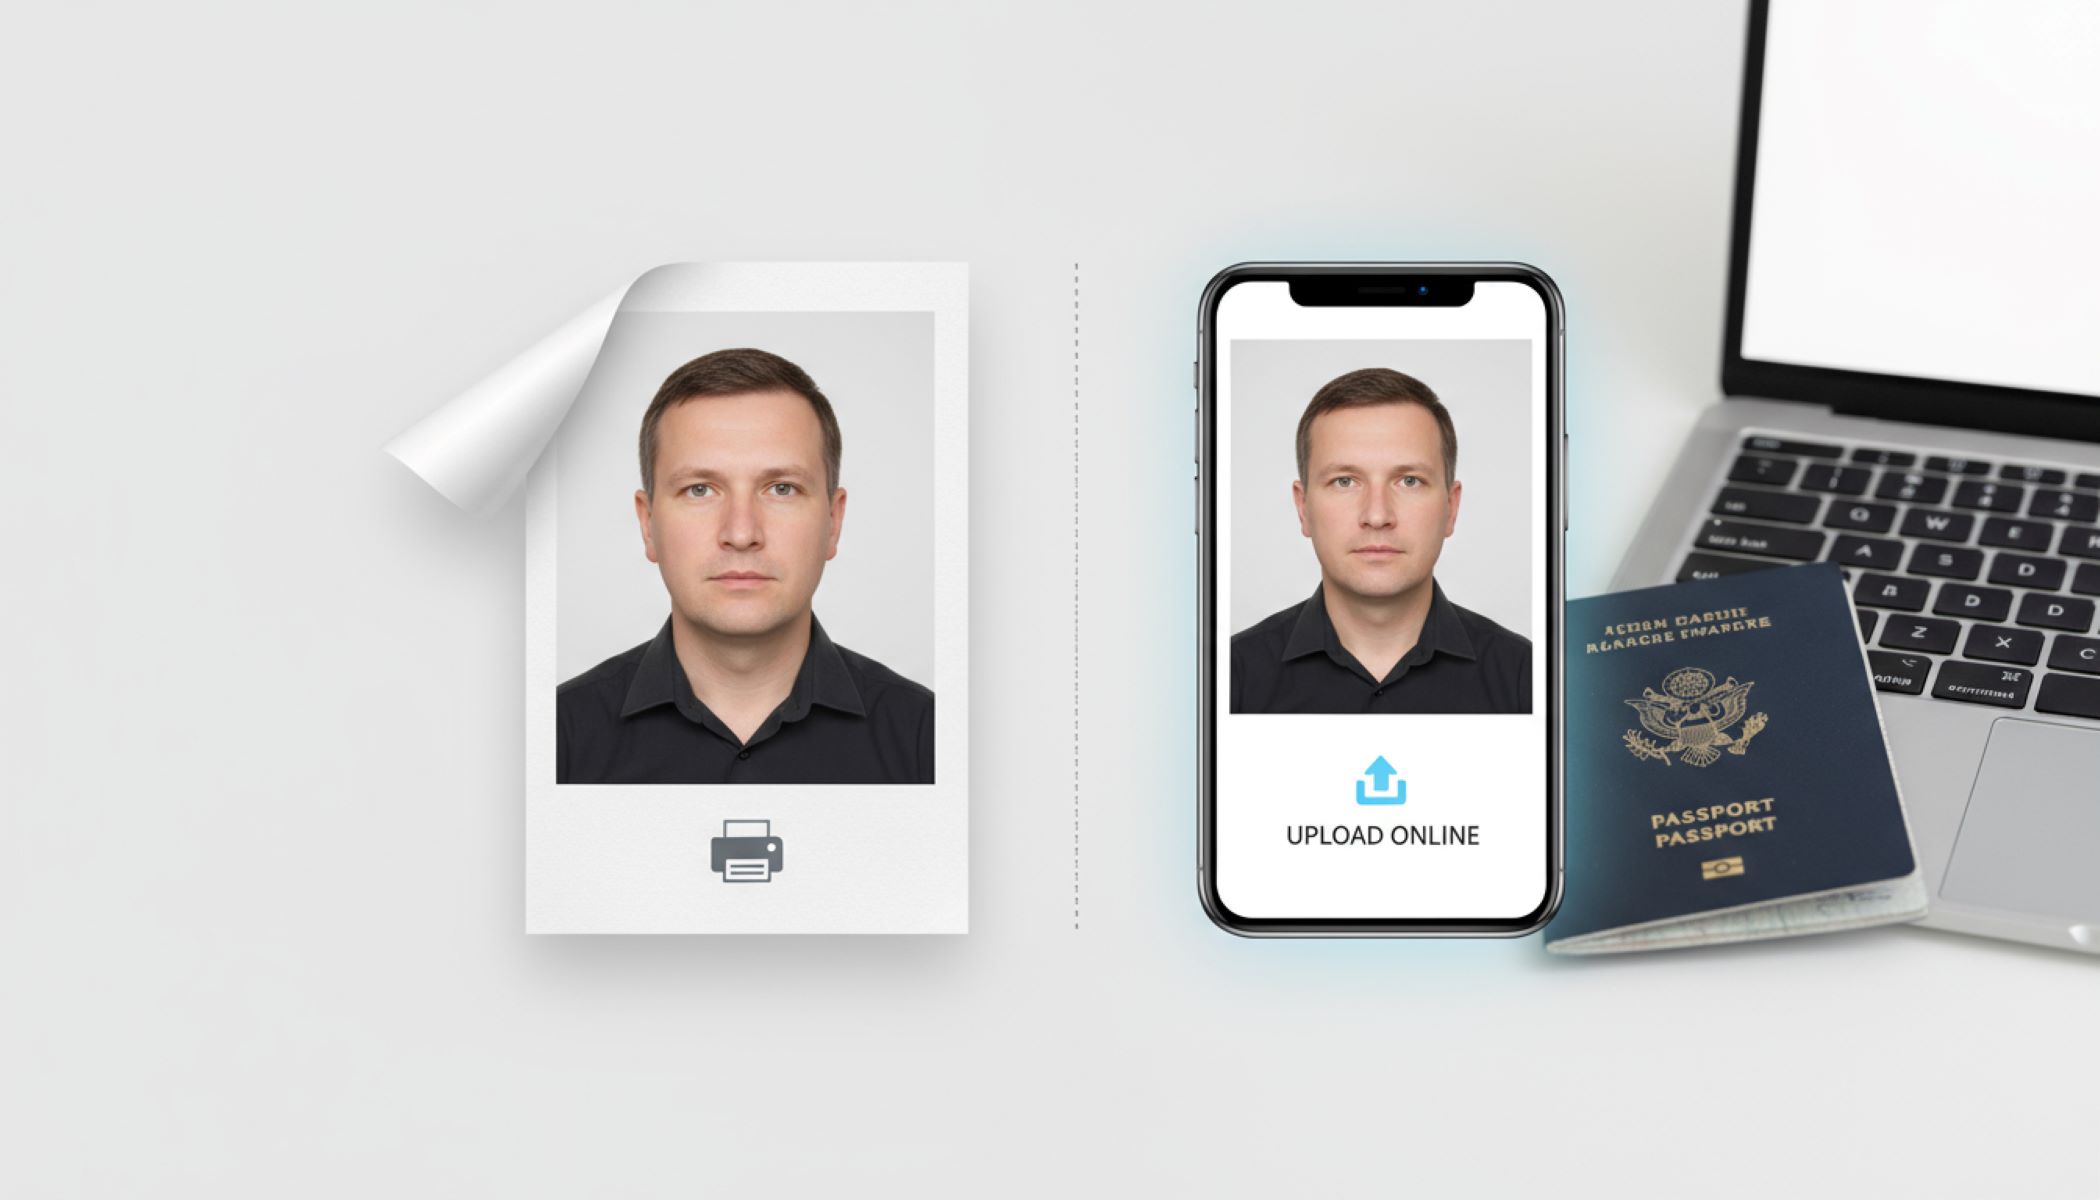
Do you need to print a visa photo or is uploading online enough
Applying for a visa can feel like navigating a maze. From filling forms to paying fees, it’s already a lot. And then comes the question that trips up almost everyone: Do I need to print a visa photo, or is uploading it online enough? Let’s break this down step by step and make it as painless as possible.
Understanding Visa Photo Requirements
Before you even think about whether you should print a visa photo or upload it online, it’s crucial to understand why visa photos matter so much in the first place. These photos aren’t just a small part of the application process—they’re one of the most critical elements. Visa photos are used by immigration authorities to confirm your identity and verify that you are the same person who submitted the application. If your photo doesn’t meet the required specifications, your application might face delays, additional document requests, or even outright rejection. Because embassies and consulates handle thousands of visa applications every day, strict photo requirements ensure efficiency and security across all cases.
Visa photos are heavily regulated because they serve as an essential identity verification tool. Immigration officers use them to quickly match your facial features with your submitted documents and, eventually, your real-life appearance when you enter the country. Unlike casual selfies or ID pictures, visa photos must meet highly specific standards regarding size, resolution, lighting, facial expression, and background. These guidelines exist to eliminate any ambiguity during verification and to ensure every applicant’s image looks uniform in the system. Even a small deviation, like a slightly tilted head or the wrong background color, can lead to your application being flagged for review.
Another reason for these strict regulations is consistency. Visa photos must look uniform so that immigration systems can easily process and compare images across various government databases. Imagine a situation where photos come in different shapes, backgrounds, and lighting conditions—this would create confusion and slow down the approval process significantly. By enforcing universal photo standards, embassies ensure that every applicant’s photo meets the same baseline quality, making it simpler to identify people quickly and accurately. This consistency becomes even more crucial in countries where advanced facial recognition technologies are integrated into visa processing.
Finally, security plays a major role in why visa photo requirements are so precise. Governments use these images to prevent fraud, identity theft, and impersonation. A high-quality, regulation-compliant photo makes it harder for someone to submit a forged application using another person’s identity. That’s why embassies are often very strict about recentness—most require the photo to be taken within the last six months to reflect your current appearance accurately. In short, visa photos aren’t just a procedural formality; they’re a key security measure designed to protect both applicants and border integrity.
Digital vs. Printed Visa Photos: The Basics
Visa applications today usually allow you to choose between uploading a digital photo online or submitting a printed photo physically. While both options are valid, each comes with its own set of advantages and disadvantages. Understanding these differences in detail will help you decide which method is best suited for your visa application and avoid unnecessary delays or rejections. Below is a comprehensive list that explains the pros and cons of each option in depth:
- Digital uploads are incredibly convenient, allowing you to submit your visa photo directly through an online application portal without the need for visiting a photo studio or embassy in person. This is especially helpful if you’re applying from home or abroad.
- Digital submissions save time and effort since there’s no need to physically deliver the photo or wait for printed copies. You can upload your image instantly, often alongside your completed visa application form, making the process smoother and faster.
- Online photo submissions reduce paperwork and physical handling, which minimizes the risk of losing your photo or damaging it during processing. Everything stays secure within the embassy’s digital system.
- Digital formats make it easier to correct mistakes. If your uploaded photo doesn’t meet the specified requirements, many visa systems instantly notify you. This allows you to edit or retake the photo without wasting time or money.
- However, strict technical requirements can make digital uploads challenging. Most embassies have very precise guidelines for file size, resolution, dimensions, and format. For example, if the photo is larger than the maximum allowed size or in the wrong format, the system will reject it.
- Poor image quality is another risk with digital uploads. If the lighting, background, or sharpness isn’t perfect, your application may get flagged for review or delayed until you resubmit a better photo.
- Printed photos remain the more traditional and universally accepted option, especially for embassies and consulates that still handle paper-based visa applications or require you to attend an in-person appointment.
- Printed photos provide a tangible, guaranteed format that is less likely to be rejected for technical reasons such as file size or resolution. As long as the physical photo matches the specified dimensions and guidelines, it’s generally accepted without issue.
- Embassies often require printed photos even if digital uploads are allowed, particularly in cases where biometric verification is conducted on-site. Having a printed photo ensures you comply with these rules without any last-minute surprises.
When Uploading Online Is Enough
| Requirement | Accepted Standard | Why It Matters | Common Mistakes | Pro Tips for Approval |
| File Format | JPEG or PNG | Most visa systems only recognize standard formats for easy processing and storage. | Uploading TIFF, BMP, HEIC, or RAW files that the portal cannot read. | Always double-check the official file format requirement before saving your photo. |
| File Size | 240KB – 500KB (varies by country) | Ensures the image is clear enough for identification without overloading the system. | Uploading photos too large, which get rejected, or too small, resulting in blurry images. | Use online compression tools to meet the exact size without losing quality. |
| Dimensions | Commonly 35mm x 45mm (varies) | Correct dimensions maintain consistency in government databases and automated checks. | Cropping the image incorrectly, resulting in distorted proportions or oversized margins. | Use embassy-approved online photo resizers to avoid misalignment. |
| Background | Plain, light-colored (usually white or light gray) | Ensures your facial features are clearly visible without distractions. | Using patterned, dark, or shadowy backgrounds that violate guidelines. | Take the photo against a white wall or use background removal tools for accuracy. |
| Recent Photo | Taken within the last 6 months | Immigration officers must match your current appearance with your documents. | Using old photos that no longer resemble your present look. | Always take a fresh photo specifically for your visa application. |
When Printed Photos Are Still Required
Even though many countries have shifted toward digital visa photo submissions, there are still numerous situations where printed photos remain mandatory. Certain embassies, consulates, and visa centers continue to rely on traditional paper-based processes for handling applications. If you’re applying for a visa in person or through a postal service, you’ll almost always need to include one or more printed photos with your documents. Paper visa applications are still common in countries where online portals are limited or unavailable, making physical photos the only accepted format in such cases.
Printed photos are also essential for visa-on-arrival procedures. Many travelers assume that applying online beforehand is enough, but that’s not always true. If you’re entering a country where visas are issued directly at the airport or border crossing, you will typically be required to submit two to four printed passport-sized photos along with your documents. In these scenarios, officials rarely have access to digital uploads in advance, so carrying physical copies becomes a necessity. Being unprepared could lead to delays at immigration counters or, in some cases, even denial of entry.
Another situation where printed photos are still required involves countries with older processing systems or those transitioning slowly to digital platforms. Some embassies maintain traditional verification procedures, preferring tangible photo copies for recordkeeping and biometric comparisons. For example, several Schengen countries and smaller consulates continue to request printed photos even when the application form is submitted online. This hybrid approach can be confusing for travelers, which is why understanding each country’s requirements is essential.
Because visa photo rules vary widely, it’s always best to check the official embassy or consulate website before applying. Even for the same type of visa, requirements can differ depending on where you submit your application. Some embassies demand printed photos for in-person appointments, while others accept only digital uploads. To avoid last-minute complications, it’s smart to prepare both digital and printed versions of your photo whenever possible. Having both formats ready ensures that you’re fully compliant with any sudden changes in policy or unexpected embassy requests, saving you time and stress during the visa process.
Common Mistakes People Make With Visa Photos
Even when applicants carefully read the guidelines, visa photo mistakes are incredibly common. Small oversights can lead to delays, additional costs, and even outright rejection of your visa application. To save yourself unnecessary stress, it’s crucial to know the pitfalls and avoid them. Below is a detailed list of the most frequent errors travelers make when preparing their visa photos:
- Uploading blurry or low-quality photos often results in instant rejection by automated embassy systems. Visa authorities require clear, sharp images where every facial detail is visible for proper identification. A slightly shaky hand or poor lighting can ruin the entire picture.
- Using the wrong background color is another common issue. Most embassies demand a plain white or light-gray background, but many people use colored walls, patterned backdrops, or backgrounds with shadows. Even subtle color tones can lead to non-compliance and cause unnecessary delays.
- Wearing sunglasses, hats, or head coverings (unless worn for religious or medical reasons) almost always gets your photo rejected. Authorities need an unobstructed view of your eyes, forehead, and facial structure to verify your identity accurately.
- Using outdated or old photos that no longer match your current appearance is a frequent problem. Most embassies require that your visa photo be taken within the last six months to reflect your present look. Even small changes—like a new hairstyle, beard, or weight difference—can cause inconsistencies during biometric checks.
- Printing photos at the wrong size is another major reason for rejection. While the most common visa photo size is 35mm x 45mm, this is not universal. Some countries require slightly different dimensions, so using a “one-size-fits-all” approach often leads to non-compliance.
- Submitting poorly lit photos is another big mistake. Overexposed or underexposed images, harsh shadows, or uneven lighting make it difficult for authorities to process the picture. Natural daylight or soft, diffused indoor lighting usually works best.
- Editing or retouching your face in photo apps can instantly disqualify your submission. Visa authorities demand an accurate and unaltered representation of your appearance, so filters, skin-smoothing, and digital corrections are strictly prohibited.
Digital Photo Tips for a Hassle-Free Upload
| Tip | Why It Matters | How to Do It Correctly | Common Mistakes | Pro Advice |
| Use a high-resolution camera or smartphone | Ensures your photo meets embassy quality standards | Set your camera to the highest resolution; avoid digital zoom for better clarity | Taking photos in low resolution or cropping too much | Use a smartphone with at least a 12MP camera for the sharpest results |
| Keep the background plain | Many visa systems automatically reject busy backgrounds | Use a solid white, light gray, or cream wall; avoid patterns or objects | Choosing textured walls or colored backgrounds | A white bedsheet or poster board works great in a pinch |
| Face the camera directly | Required for facial recognition and biometrics | Sit or stand straight, keep your head centered, and look directly into the lens | Tilting your head, turning sideways, or looking down | Use your phone’s gridlines to perfectly center your face |
| Avoid shadows and harsh lighting | Shadows can distort your features, leading to rejections | Take the photo in natural daylight or use two soft lights on each side of your face | Flash glare, uneven lighting, or shadows on the face | Position yourself near a bright window but avoid direct sunlight |
| Check file size and format before uploading | Saves time and avoids submission errors | Verify embassy rules for photo dimensions, file size, and formats (JPEG, PNG, etc.) | Uploading oversized or undersized photos | Use free online tools to resize and compress images without losing quality |
Printing Visa Photos Correctly
When it comes to visa applications, printed photos are still an essential requirement for many embassies and visa centers. Before heading to a photo studio or printing them at home, the first and most important step is to check the exact photo dimensions required by the embassy or consulate handling your application. While the standard size for many countries is 35mm x 45mm, some destinations have their own unique specifications, such as 50mm x 50mm for the U.S. visa or slightly different ratios for Schengen visas. Relying on a “one-size-fits-all” approach can easily lead to rejection. Therefore, always visit the official embassy website to verify size, resolution, and format requirements before printing.
Next, focus on using the right photo paper and printer settings. High-quality photo paper is essential to produce clear, professional-looking images that meet embassy standards. Both matte and glossy finishes are usually acceptable, but glossy tends to give a sharper appearance, while matte avoids reflections under bright lighting at visa centers. If you’re printing at home, make sure your printer is set to the highest resolution possible and uses original ink cartridges for maximum clarity. For those unsure about doing it themselves, professional photo studios are often the safest option since they are familiar with embassy-specific requirements.
Lighting plays a huge role in getting visa photos approved. Any shadows, glares, or reflections on your face or background can cause your application to be delayed or even rejected. Always ensure that the photo is taken in evenly distributed light, preferably natural daylight, and against a solid white or light-colored background. Avoid direct flashes, as they can create harsh shadows or shiny spots on the skin. Embassies are extremely strict about maintaining a neutral and natural look, so don’t apply filters or heavy retouching—overedited photos can fail biometric checks and may be flagged as manipulated.
Finally, always print multiple copies of the same photo. Most embassies and visa centers require at least two to four identical printed photos per application, and some may request even more for family visas or long-term permits. Having extra copies on hand can save time if one gets damaged or rejected due to minor imperfections. It’s also smart to store a digital copy of the photo for future use, especially if you travel frequently. Taking these steps ensures that your printed visa photos meet all official requirements and avoids unnecessary delays in the approval process.