How the visa application process works and what photo is accepted immediately
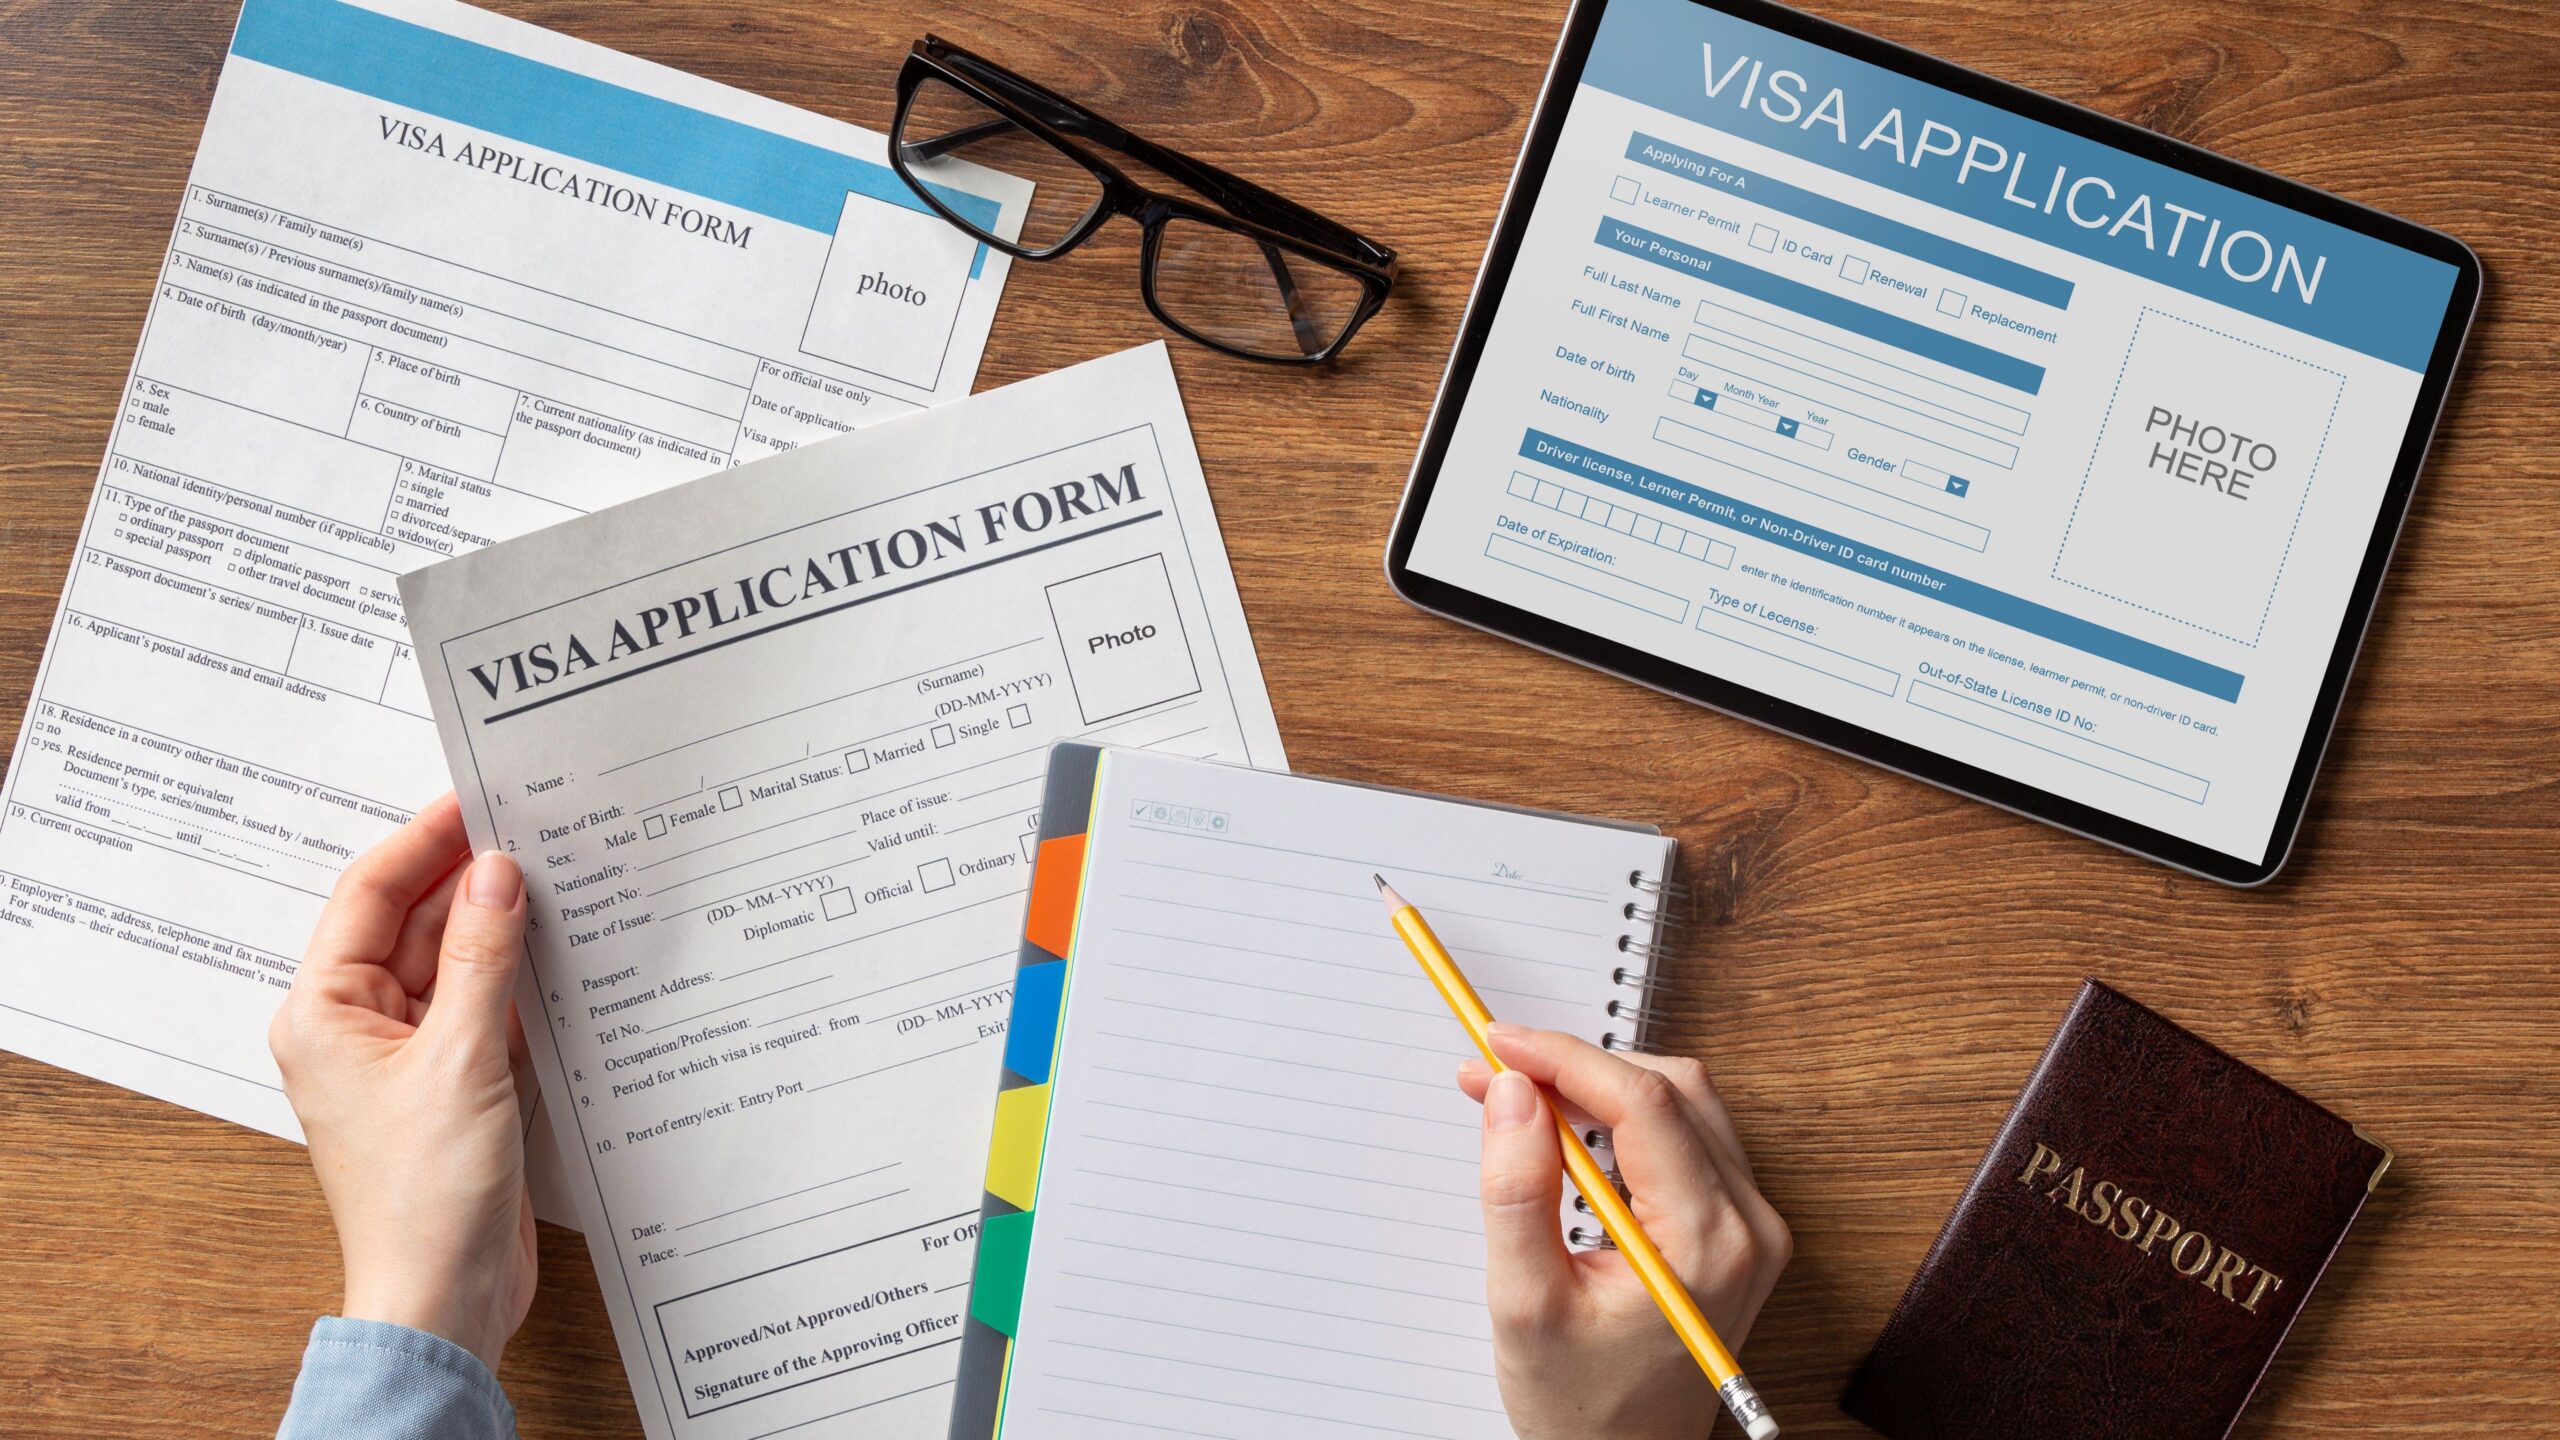
Applying for a visa can feel like navigating a maze. One wrong turn, and you could face delays—or worse, rejection. But don’t panic! Once you understand how the process works, it becomes far less intimidating. Essentially, the visa application process is your ticket to travel legally from one country to another. While each country has its unique requirements, the core steps remain fairly similar. Think of the visa application like preparing for a big journey—you wouldn’t leave without your map, tickets, and ID. In this article, I’ll walk you through the process, step by step, and even guide you on what photo specifications are accepted immediately.
Types of Visas and Why They Matter
Choosing the correct type of visa is the very first step in ensuring a smooth travel experience. It’s not just a formality—your visa type determines the entire application process, including the documents you need, the application fees, and even how long you’ll be allowed to stay in the country. For instance, a tourist visa is typically easier and faster to obtain, while work or student visas often require additional documentation, such as employment letters, admission confirmations, or sponsorship proofs. Skipping this step or choosing the wrong visa can lead to delays, complications, or even outright rejection, which is why understanding your visa category is essential before filling out any forms.
Each visa type serves a specific purpose, which is why countries categorize visas carefully. Tourist visas are designed for leisure travelers who want to explore a destination without engaging in formal work or study. Business visas are for individuals attending conferences, meetings, or negotiating deals and often come with stricter documentation requirements to prove the legitimacy of your purpose. Student visas, on the other hand, require proof of enrollment in an accredited institution and may also require financial statements to ensure you can support yourself during your studies. Meanwhile, work visas are generally tied to employment contracts, and transit visas cover short stays while traveling through a country en route to another destination. Understanding these distinctions helps applicants prepare more efficiently and reduces the risk of submitting incomplete or incorrect applications.
Another factor to consider is the impact of visa type on additional requirements, such as passport photos and biometric information. Not all visas have the same photo standards; some countries enforce stricter rules for student or work visas because these visas are tied to longer stays or specific legal obligations. For example, a work visa might require a high-resolution photo with precise measurements and no shadows, while a tourist visa might be slightly more lenient with dimensions or background lighting. Additionally, certain visas may require updated photos periodically, especially if processing times are long. Knowing these details ahead of time ensures you don’t face unnecessary delays or rejections due to an improperly submitted photo.
Finally, being clear about your visa type also helps with planning your travel and managing expectations. Each visa has specific rules for entry, duration of stay, and even restrictions on activities you can perform while in the country. For instance, a tourist visa may not allow you to work, whereas a work visa often comes with strict employer and job restrictions. Understanding these differences allows travelers to avoid unintentional legal issues, plan their finances and itinerary accurately, and ensure they comply fully with immigration regulations. In short, taking the time to research and select the right visa type is an investment in a smoother, stress-free journey.
Step-by-Step Visa Application Process
| Step | Description | Key Documents | Common Mistakes | Tips & Advice |
| Identify Your Visa Type | Determine the purpose of your travel, as this affects forms, fees, and document requirements. | Passport, previous visa copies, travel purpose documents | Choosing the wrong visa type, misunderstanding requirements | Check embassy website for visa categories and eligibility before starting. |
| Gather Required Documents | Collect all documents needed for your visa application. | Passport (valid 6+ months), completed application form, recent passport photo, proof of financial means, travel itinerary, invitation letter (if applicable), previous visa copies | Missing documents, expired passport, incorrect or incomplete forms | Make a checklist to ensure nothing is missed; organize documents neatly in a folder. |
| Prepare Your Photo | Take a high-quality, compliant photo to avoid delays. | Recent passport photo meeting embassy specifications | Wrong size, poor lighting, shadows, glasses, or facial expressions not neutral | Use a professional service or online tool to meet exact specifications. |
| Fill Out the Application Form | Complete the visa application accurately and honestly. | Completed online or paper application | Typos, incorrect dates, mismatched passport numbers | Double-check all details before submission; save a copy for reference. |
| Pay the Visa Fee | Submit the required payment for processing your visa. | Payment receipt, bank statement or proof of online payment | Incorrect payment amount, payment not received by embassy | Verify payment method accepted by the embassy; keep proof until visa is issued. |
| Schedule an Appointment | Book a slot for your visa interview or biometric submission. | Appointment confirmation, all collected documents | Missing the appointment or scheduling errors | Schedule early; confirm date and time via official embassy channels. |
Photo Requirements for Visa Applications
Getting your visa photo right is more important than many people realize. A single mistake can delay or even reject your visa application, so paying attention to details is crucial. Here’s a complete list of what you need to know:
- Photo Size and Dimensions: Most visa photos are 2×2 inches (51×51 mm), but always check the specific requirements of the country. Some countries like the UK or Schengen area may require slightly different dimensions such as 35×45 mm. Make sure your photo fits the exact measurements, including head size and shoulder placement.
- Background Requirements: Use a plain white or light-colored background. Avoid any patterns, textures, shadows, or objects in the background. This ensures your face is clearly visible and meets embassy standards.
- Face Visibility: Your full face must be visible from the bottom of the chin to the top of the forehead. Avoid hats, caps, or any headgear unless worn for religious purposes. Hair should not cover the face or eyes.
- Facial Expression: Maintain a neutral expression with your mouth closed. Avoid smiling, frowning, or showing teeth. The goal is to capture your natural facial features without distortion.
- Eye Visibility: Keep eyes open and clearly visible. Avoid hair covering the eyes or wearing sunglasses. For prescription glasses, remove them if glare or reflection is present.
- Lighting and Shadows: Ensure the photo is well-lit with no shadows across the face or background. Natural light works best, but soft artificial lighting is acceptable. Avoid harsh overhead lights that may cause shadows.
- Photo Quality: The photo must be high-resolution with no pixelation, blurring, or graininess. Low-quality images can be rejected instantly. Avoid filters or editing apps that alter facial features.
- Photo Orientation: Your head should be straight and centered in the frame. Avoid tilting, rotating, or cropping your head incorrectly. Both shoulders should be visible if required.
- Clothing and Attire: Wear everyday clothing that contrasts with the background. Avoid uniforms, overly bright colors, or flashy accessories that distract from the face.
- Recent Photograph: The photo must be recent, usually taken within the last six months. It should reflect your current appearance, including hairstyle, facial hair, and glasses.
- Common Mistakes to Avoid:
- Smiling too widely or showing teeth.
- Using dark or patterned backgrounds.
- Wearing glasses that cause glare or shadows.
- Low-resolution, pixelated, or blurry images.
- Cropped or tilted photos that misalign the head or shoulders.
- Photos with shadows, poor lighting, or uneven exposure.
- Over-editing or applying filters that alter natural features.
- Hair or accessories covering facial features.
How to Take a Visa Photo That Gets Accepted Immediately
Getting your visa photo accepted immediately starts with understanding the importance of the background. A neutral, plain background is essential because it ensures that your face stands out clearly and that no distractions interfere with the photo. Avoid patterned walls, textures, or shadows that might obscure your features. Even subtle shadows behind your head can lead to rejection, so aim for a smooth, light-colored backdrop—white or off-white is usually the safest choice. Many applicants overlook this simple step, but embassies are very strict about background requirements, and a non-compliant photo is one of the top reasons applications are delayed.
Lighting plays a critical role in producing a high-quality photo. Natural light is generally the best option because it evenly illuminates your face without creating harsh shadows. Avoid direct sunlight, which can cause squinting or overexposure, and steer clear of strong overhead lighting that casts shadows under your eyes or chin. The goal is to have a bright, evenly lit face with no dark areas. If you are indoors, position yourself near a large window or use soft diffused lighting to achieve a clean, clear image that highlights your natural features.
Correct head positioning is another crucial factor that often gets overlooked. Your face should be directed straight at the camera, with your eyes open and focused on the lens. Your head must be centered, with both shoulders visible if required, and not tilted or rotated. This ensures that the photo meets the biometric standards used by most embassies, which may later match your photo to your passport for verification. Even small tilts or misalignments can cause the photo to be rejected, so pay attention to posture and alignment during the shoot.
Finally, your attire and camera settings make a subtle but significant difference. Wear neutral, non-reflective clothing and avoid uniforms or overly bright colors that might clash with the background. Your goal is to keep the focus on your face, not your outfit. Additionally, use a high-resolution camera with proper settings, avoid filters or digital edits, and save the photo in the format specified by the embassy, usually JPEG or PNG. Following these steps carefully will dramatically increase your chances of having your visa photo accepted immediately, preventing unnecessary delays and helping your application move forward smoothly.
Digital vs Printed Visa Photos
| Aspect | Digital Photo | Printed Photo | Advantages | Tips & Advice |
| Submission | Uploaded online through embassy or visa portal | Submitted physically at the embassy or visa center | Digital is faster and more convenient; printed is widely accepted in all countries | Check embassy guidelines to know which format is required; keep backups of both formats |
| Editing | Allowed only to meet embassy specifications (size, background, brightness) | Minor cropping or adjustment allowed | Digital allows precise corrections before submission; printed may require reprinting for errors | Avoid over-editing; ensure colors and facial features remain natural |
| Instant Acceptance | Possible if the photo meets all criteria | Immediate acceptance if the printed photo is correct | Digital photos can be reviewed instantly online; printed photos are verified on submission | Always verify digital file format, resolution, and size requirements; for printed, ensure clarity and correct dimensions |
| Common Pitfalls | Incorrect format (JPEG, PNG), wrong file size, poor resolution, incorrect color balance | Shadows, poor lighting, wrong dimensions, physical damage | Digital errors can often be corrected before submission; printed photos can be re-taken if rejected | Use embassy-approved tools or studios; double-check all requirements before submission |
| Longevity & Backup | Easy to store, copy, and resend if needed | Physical copy can get damaged, lost, or smudged | Digital photos provide quick access and easy replacements; printed photos are needed for certain consulates | Keep multiple digital copies in secure storage; keep extra printed copies in protective sleeves |
Country-Specific Photo Rules
Visa photo requirements vary from country to country, and even small differences can result in a rejected application. Understanding the specific rules for the country you are applying to is essential. Here’s a detailed guide to the photo specifications for some of the most common destinations:
- USA Visa Photo Requirements: The standard size is 2×2 inches (51×51 mm) with a plain white background. Glasses are not allowed in the photo, and it must be taken within the last six months to reflect your current appearance. The face should be fully visible with a neutral expression, and head position should be centered. Shadows or uneven lighting can lead to rejection.
- UK Visa Photo Requirements: UK visa photos must be 45mm x 35mm. Applicants should maintain a neutral facial expression and avoid smiling widely. Head coverings are only permitted for religious reasons and must not obscure the face. The photo should clearly show the full head and shoulders with even lighting, ensuring no shadows or reflections.
- Schengen Visa Photo Requirements: For Schengen visas, the required size is 35mm x 45mm. The background should be plain, typically white or light gray, with no patterns or textures. The photo must show the head and shoulders fully, with the face centered and eyes open. Neutral expression is required, and photos must be recent, ideally taken within the last six months.
- Canada Visa Photo Requirements: Canadian visa photos should be 50mm x 70mm with a neutral background. The face must be fully visible, and the applicant should not wear glasses or hats (except for religious reasons). The photo should be taken recently and be high-resolution without any shadows or glare.
- Australia Visa Photo Requirements: Australian visas require a 35mm x 45mm photo with a plain white or cream background. A neutral expression is required, and the head should be centered. Accessories like hats or sunglasses are not allowed, and lighting must be even to avoid shadows on the face or background.
- India Visa Photo Requirements: Indian visa photos are usually 2×2 inches with a white background. A neutral expression is required, and the head should be centered with eyes open. Glasses and hats are not allowed, and the photo should be taken within the last six months. Ensure good lighting and avoid shadows or reflections.